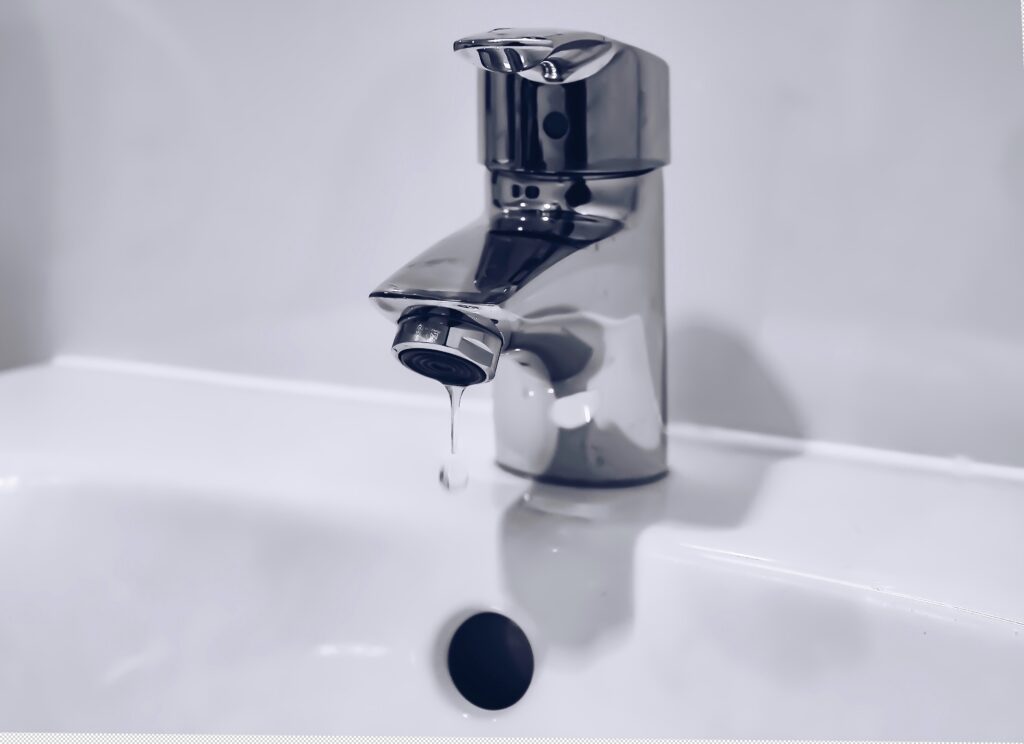
If you’re a homeowner, chances are you’ve had to deal with a leaky faucet. These pesky leaks can be both annoying and costly if left unchecked. But don’t despair – there’s an easy fix for most leaking faucets! This blog post will show you how to quickly and easily repair a leaking faucet. With just a few simple tools and a little know-how, you can handle this problem in no time flat! So read on, and learn how to fix a leaky faucet once and for all!
Identify the source of the leak
Identifying a leaking water source can be a daunting task for homeowners who are taking the DIY approach. While leaks can often originate from loose washers, they can also come from worn or defective O-rings and packing nuts. To ensure that the correct source is identified, it’s essential to consider all factors. Identifying if your leak is coming from a cracked fitting or worn rubber part will save time and money in the long run. With careful examination, most homeowners should have no problem pinpointing where their leak is coming from so they can properly repair it.
Turn off the water to the faucet by shutting off the valves under the sink
If you’re tackling a do-it-yourself project in your kitchen, the first step is to shut off the water supply at the sink before making any repairs. Fortunately, turning off the water for both bathroom and kitchen faucets is easy as long as you know where to look. In most homes, there’ll be two valves near each other underneath the sink – one for hot water and one for cold. Turn each valve clockwise to shut off the water flow and avoid any damage or flooding once the repair work begins. If you have single-lever faucets, there may be one valve to deal with; regardless, shutting them both off is essential for any DIY job.
Use pliers to remove the old washer, O-ring, or packing nut
DIY-ing plumbing projects around the home can save you money and time, and being confident in your work is essential. One part of a plumbing project that requires specific instructions is removing the old washer, O-ring, or packing nut. For this process, pliers are your go-to tool; be sure to place rags underneath the pipes before inserting the pliers to keep them from being scratched or dented. Once the pliers are securely placed, twist and remove the parts easily. With these few simple steps, you’ll have that old washer removed quickly without calling upon any professionals.
Replace these parts with new ones that you can purchase at a hardware store
As a homeowner, you may want to try your hand at DIY projects and save yourself money. In some cases, repairing an existing item around your home can be relatively simple but will often require you to acquire new parts. Many of the necessary replacements can easily be found at any hardware store, from faucets to switches. If you can identify which part is worn out or broken and get measurements of what you need, you are already halfway done! When replacing dated parts with new ones, they are appropriate for use with a typical domestic water or electrical system. Whether selecting drain covers for your shower or upgrading cooling vents for air conditioning, ensure you have invested in quality products so that your home is secure against potential issues.
Reattach everything and turn on the water valves to test your repair
If you’ve noticed a water leak in your home, it’s time to take matters into your own hands by repairing yourself. Once you’ve fixed the problem, could you reattach all the pipes and hoses and turn the water valves on? Testing your repair this way will allow you to confirm its effectiveness. Doing so also gives you peace of mind that whatever caused the leak has been successfully remedied without calling a professional handyman. Depending on the type of repair necessary, DIY maintenance may cost less and leave you feeling more confident about your abilities!
Conclusion
Doing your plumbing repairs can seem daunting. However, when it comes down to it, you will likely be surprised by how easy it can be – especially if you prepare with the proper steps and knowledge. By identifying the source of the leak in your faucet, turning off your water valves, using a set of pliers to remove old parts, and replacing these components with new ones from a hardware store, you have saved yourself from unnecessary spending and additional stress. From now on, you, too, can be the master of your own repair needs!

